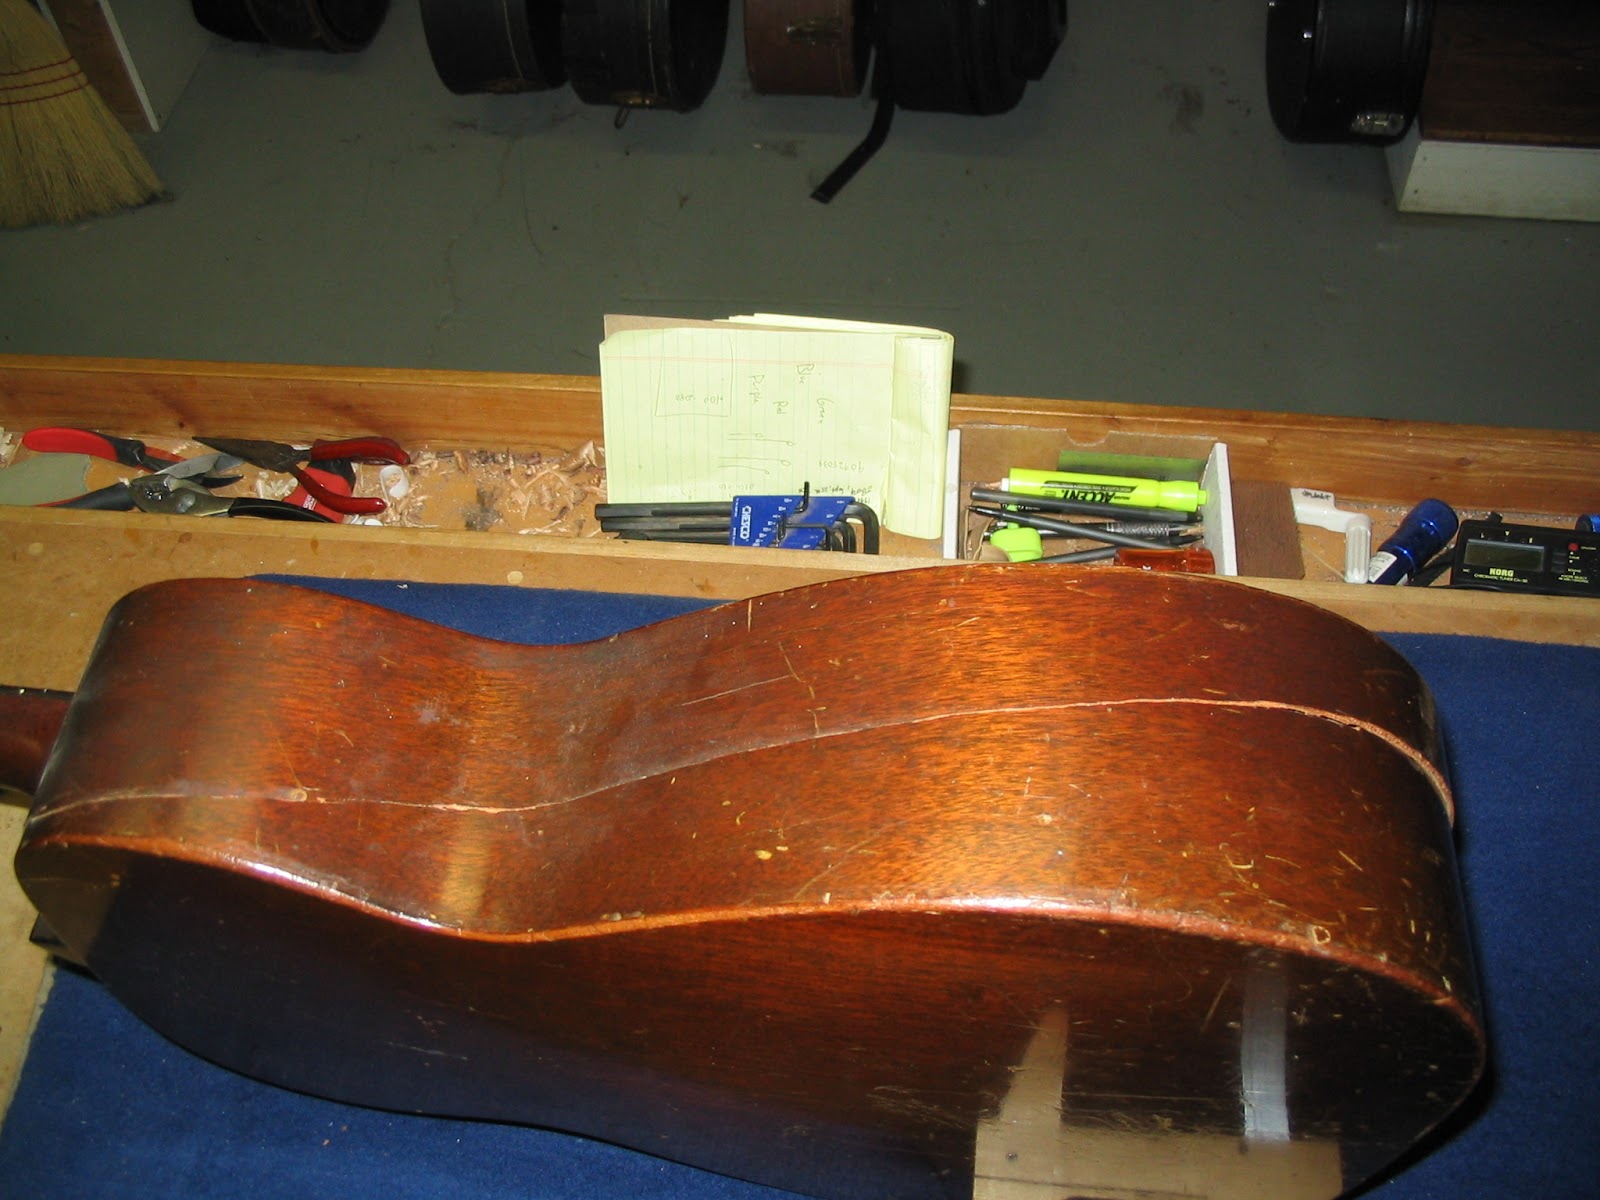
Here's a repair that I did a while back. I guess this instrument got played a lot, and wound up stuffed away in a closet somewhere in New York. Finally a family member with an interest in guitar got his hands on it, and decided to get it fixed up, and playing well.
Sorry for the blurry photo, but there she is. A 1937 Martin O-17. Ben Brockway actually did the initial estimate, which addressed the frets, neck bow, neck angle, and the giant rib crack.
Here's an inside view. You can see that the linen patches didn't even try to stop the crack. Wooden rib braces probably wouldn't have either. In this case, the linen patches were a good thing, because they're easy to remove with warm water. Therefore they didn't hold up the rib from being repaired. Long story short, don't drop your guitar!
There were three main ideas for how to fix this giant crack.
1) Remove the back of the instrument, thus enabling vast control over the crack in order to achieve a near perfect alignment. But with the risk of leaving scars, as guitar backs aren't made to be taken on and off.
2) Work in small sections and use CA glue. This would have probably yielded a very good alignment, but would have certainly left a large scar in the finish, even working as cleanly as possible.
3) Work in large sections (3) and use special clamps (shown above with the tuners) and turn buckle cauls through the sound hole, and get the alignment as close as possible.
I chose #3, and tried many clamping variations until I finally got it. In the end the whole crack went together well, and needed only a tad bit of flushing and finish touch up. Not too bad for a crack that had been open for the better part of 50 years.
After the rib crack was reinforced with cleats and new linen patches, it's time to do this instruments neck reset. The hide glue Martin used gave way to steam after maybe a minute.
I start with getting the new angle established, and then fit the heel perfectly back to the body.
Awww yeah. Lookin good.
Now I get the joint itself fitting well again, using some full length mahogany shims. Chalk fit that thing back together, and...
Mix up some fresh hide glue for good measure. Pre-war Martin's deserve the best!
Not too many things get your blood pumping like watching hide glue ooze out of a tight dovetail.
Always a good feeling when it's still right after the clamps come off!
The frets gotta go! Pulling frets out neatly always fills the repair room with that odd smell of "concentrated antique store."
Impressive stuff here. This neck only moves .005" under string tension, and over 80 years of string tension have only warped it .005".
All it takes to nail that perfect .002" relief is to put in about .003" of back bow. I feel comfortable doing this, because I'll be putting in frets with the same tang size.
It really puts a smile on your face when frets seat perfectly. I checked about 4 times before I realized, I didn't have to do any fret leveling at all.
Time now to make the new saddle. Because somebody decided to glue in the old saddle, I get the pleasure of sawing it in half, and carving the pieces out.
Don't glue saddles in folks, saddle gluers go to the special hell, with child molesters and people who talk during movies.
After a new nut and saddle, this guitar is a pleasure to play, and really great to listen to also.


On a whim I checked back and there she is!!!! I had given up.. but alas you posted the repair. This AMAZING guitar is a family treasure and Matt, I can't thank you enough for the work you did bringing this guitar back to life. When my father in-law came to visit we blindfolded him and I played a song. When he took the blindfold off he cried. To see his fathers guitar reinvented was really powerful. THANKS Again! And I recommend your work to everyone! CHEERS! Brian
ReplyDeleteThanks for the kind words, Brian. It's nice to see instruments get repair work done, and then be played and loved.
Delete